Visual Components Connector Setup
In this article, you'll learn how to download, install, and set up the Visual Components connector on Resolver.
Download the Connector
Step 1: Log in to Resolver using your credentials.
Step 2: From the left-hand menu, select the Download tab.
Step 3: Look for the Visual Components section. This is where you'll find the available connector versions.
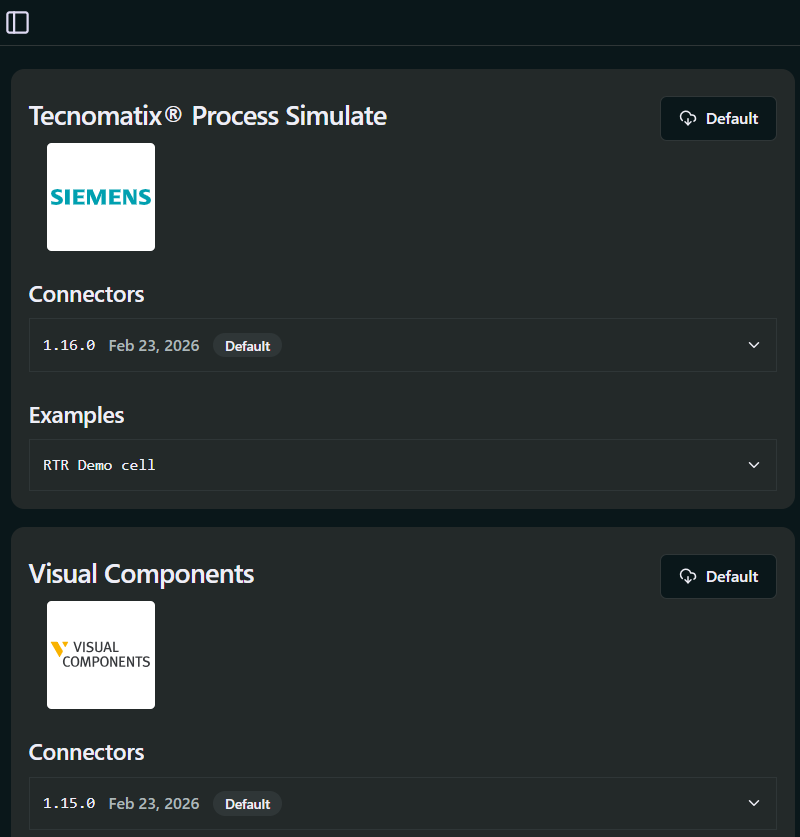
Step 4: Click the Default button to start the download. The file will be downloaded as a ZIP archive to your default Downloads folder.
Installation
Step 1: Close Visual Components before proceeding with the installation.
Step 2: Extract the ZIP file and run the installer named RTR-VC-Connectors-Setup.exe.
For best results, right-click and run as an administrator.
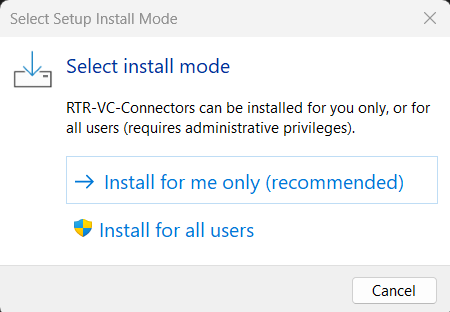
Step 3: Choose whether to install for all users or just the current user based on your setup.
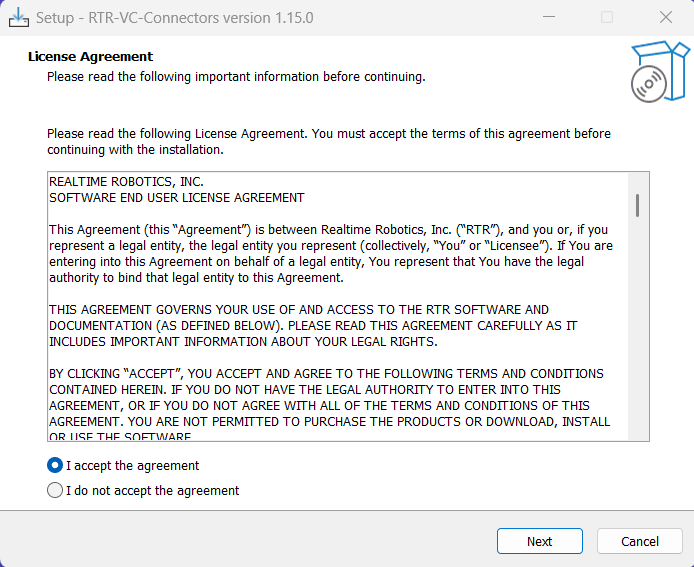
Step 4: Review and accept the license agreement, and click Next.
Step 5: Select Install to existing version or versions.
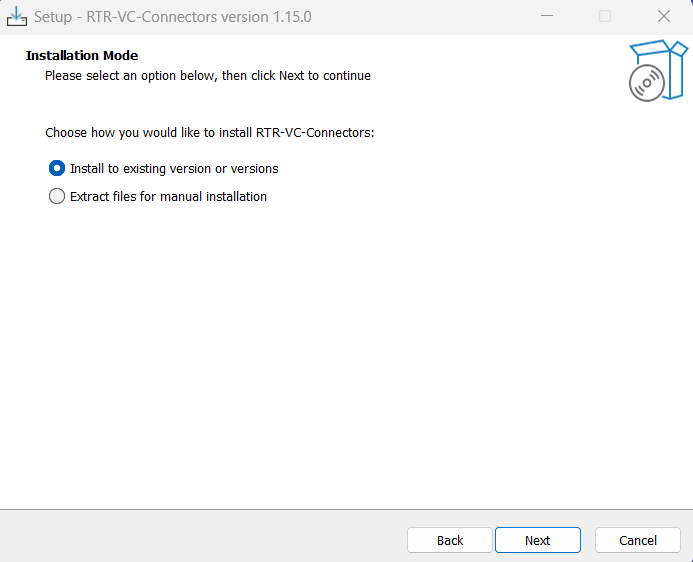
Step 6: Choose the installation folder — the default (C:\Program Files) is recommended — and select the Visual Components version(s) to install to.
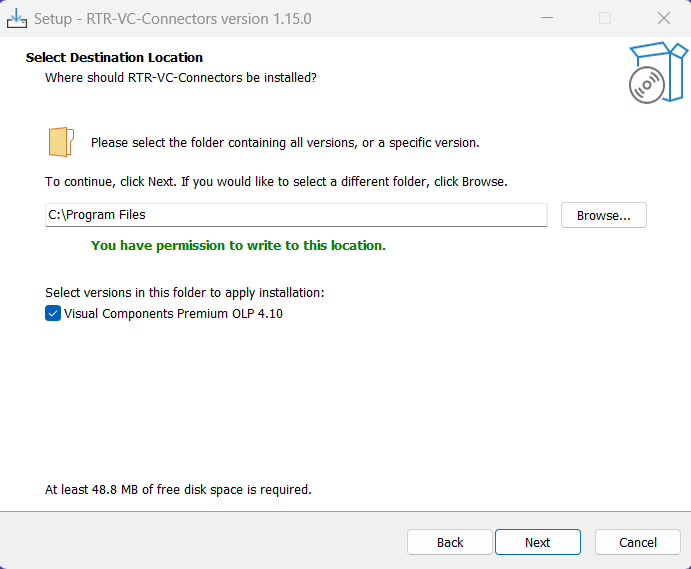
Step 7: Click Install, then click Finish once the installation is complete.
Step 8: Open Visual Components. The connector adds itself to the Program tab of the ribbon automatically.
If it's not there, add it manually: open the dropdown at the top-right corner of the UI and tick Realtime Robotics Connector.

Prefer to install the DLLs manually instead? See Legacy Installation in the full Download & Install guide.
Verify the Installation
Step 1: Open Visual Components and check the Program tab of the ribbon for Realtime Robotics Connector.
Step 2: Open the connector, then select ☰ → About... and confirm the version matches the installer you ran.
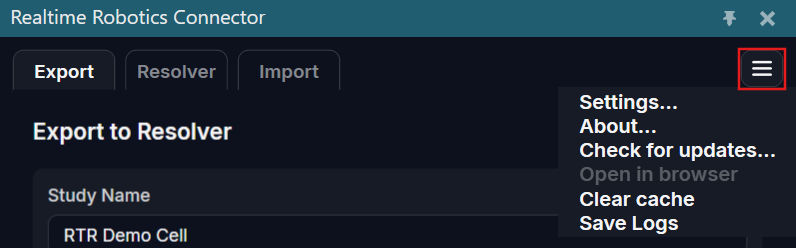
Make a note of that version — Support will ask for it.
Now your RTR connector is ready for use.
Next: set up your collision rules before you export.
Thank you for following along.
Happy path planning with Resolver!