結果のインポート
Resolver Cloud から結果をインポートする
Resolver で実行が正常に完了すると、1 つ以上の [results].yaml ファイルが .zip ファイル内に生成されます。
.zip 内には、Sequential InterlockRobots exchange release signals once they reach a certain point in the sequence. Interlocks are not areas that robots can reserve in any order but fixed positions where specific robots must wait until... と Spatial InterlockA spatial interlock is used between two robots that share the same space. To prevent collisions, a signal is used to indicate that a robot is in the zone. There is no priority given to either robot -... の両方の結果が含まれています。
プロジェクトによっては、Spatial Interlock の結果が複数存在する場合があります。主な違いは Interlock の数 です。Interlock が多いほど、通常は Cycle Time が短く なります。
cycle_times.yaml ファイルを参照すれば、異なる Interlock 数における Cycle Time を比較できます。
開始する前に
エクスポート処理 に使用した 同じ Study が Visual Components で開かれている ことを確認してください。
結果をインポートする方法は 2 つあります — Online と Offline です。
Online Import
-
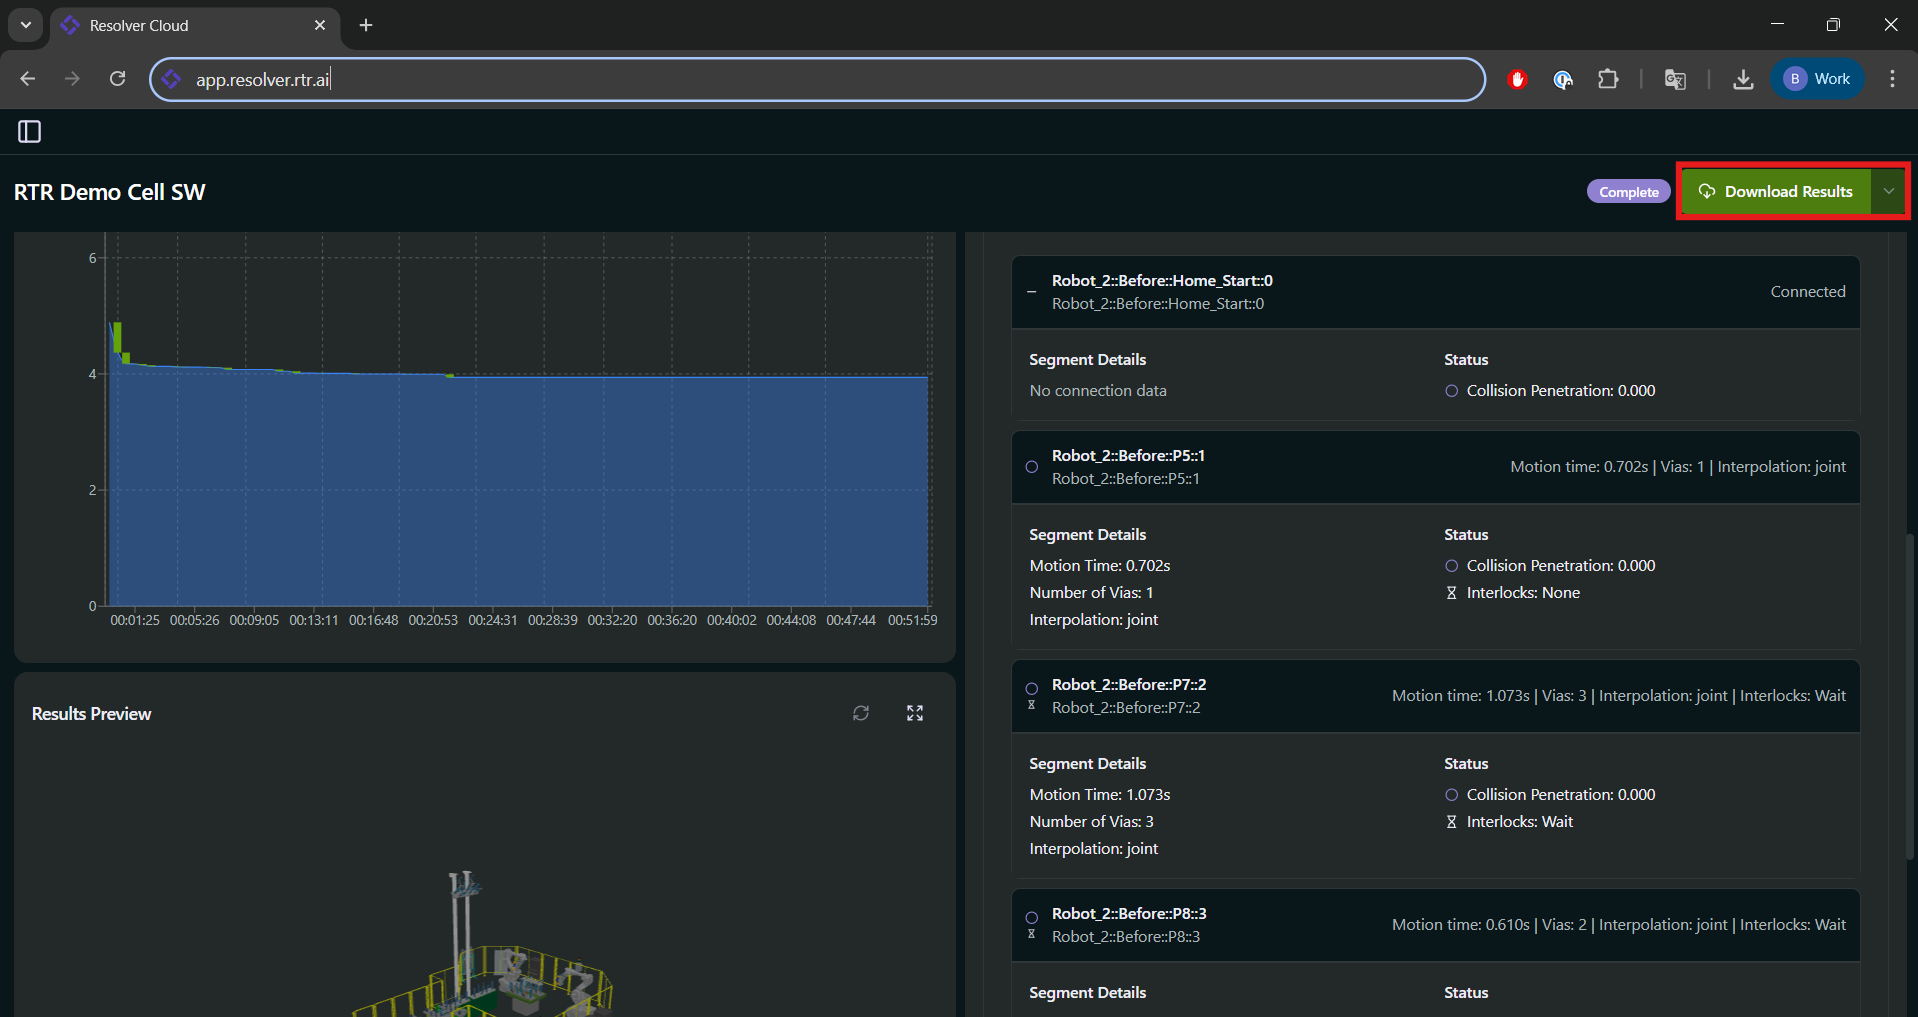
Realtime Robotics Connector から Download をクリックします。
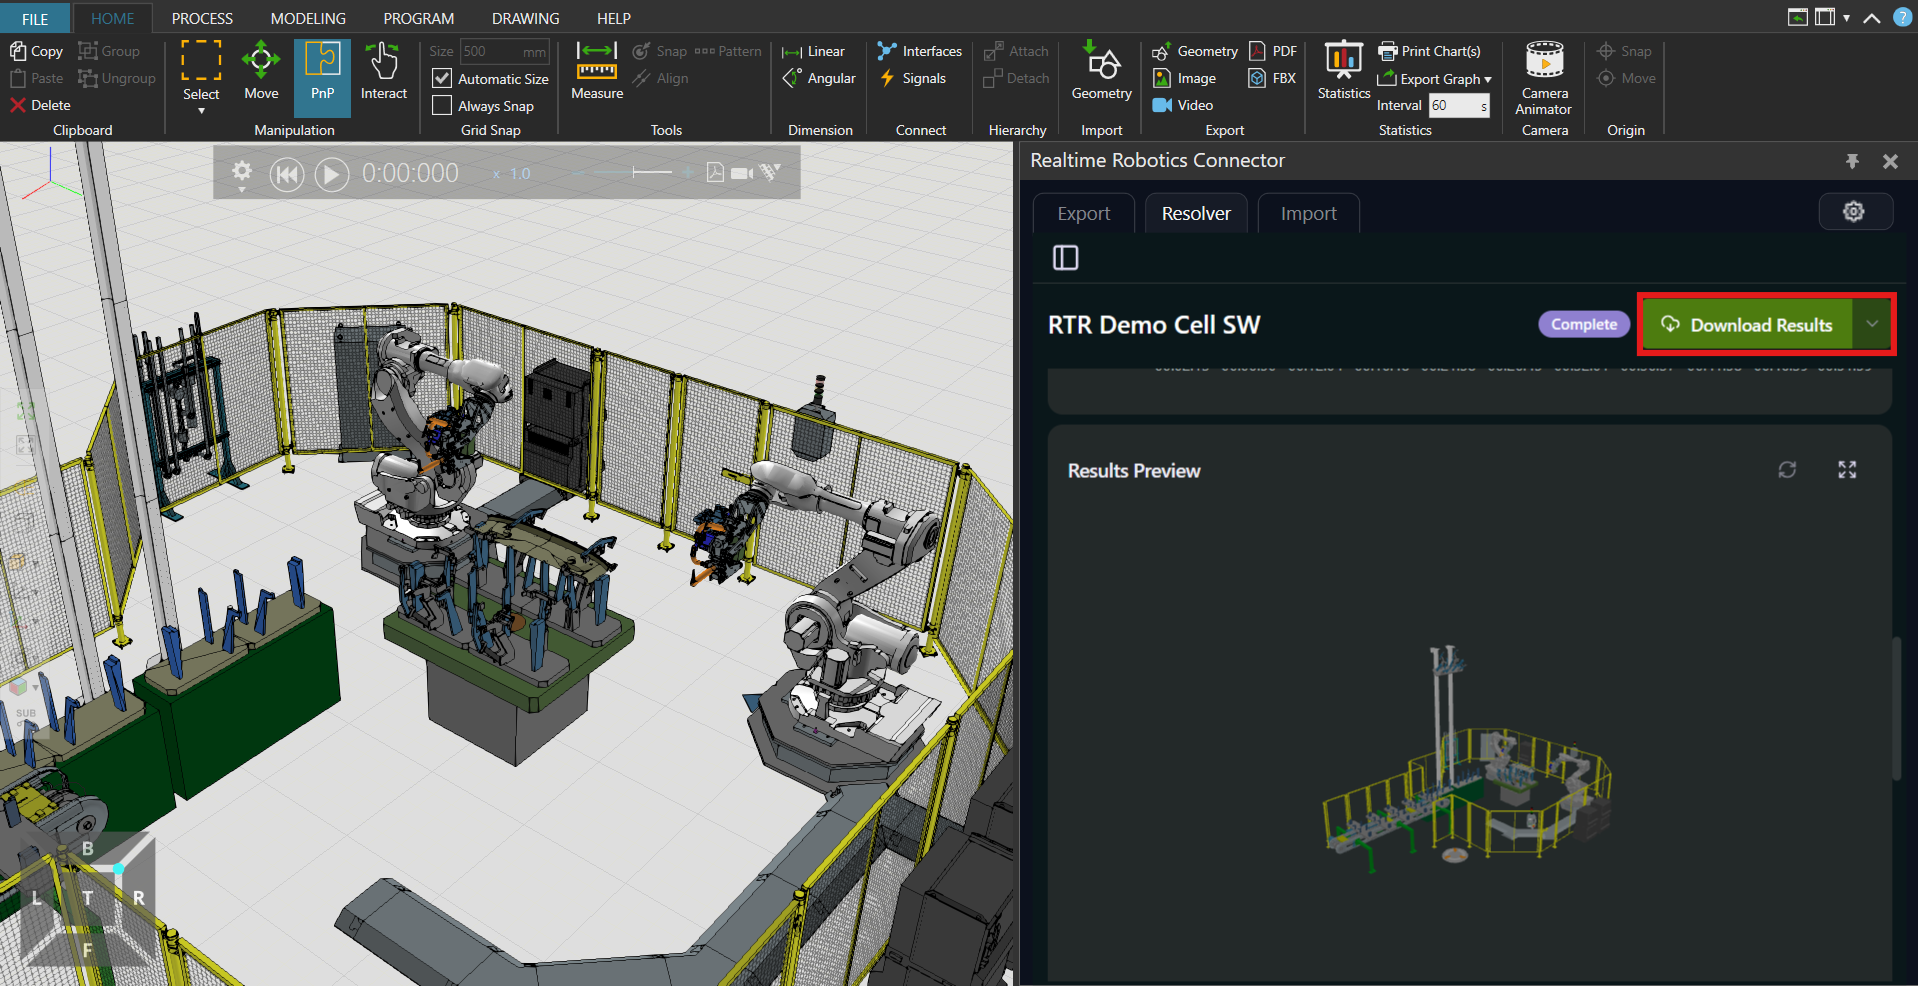
-
Interlock のタイプと数を選択し、Import をクリックします。
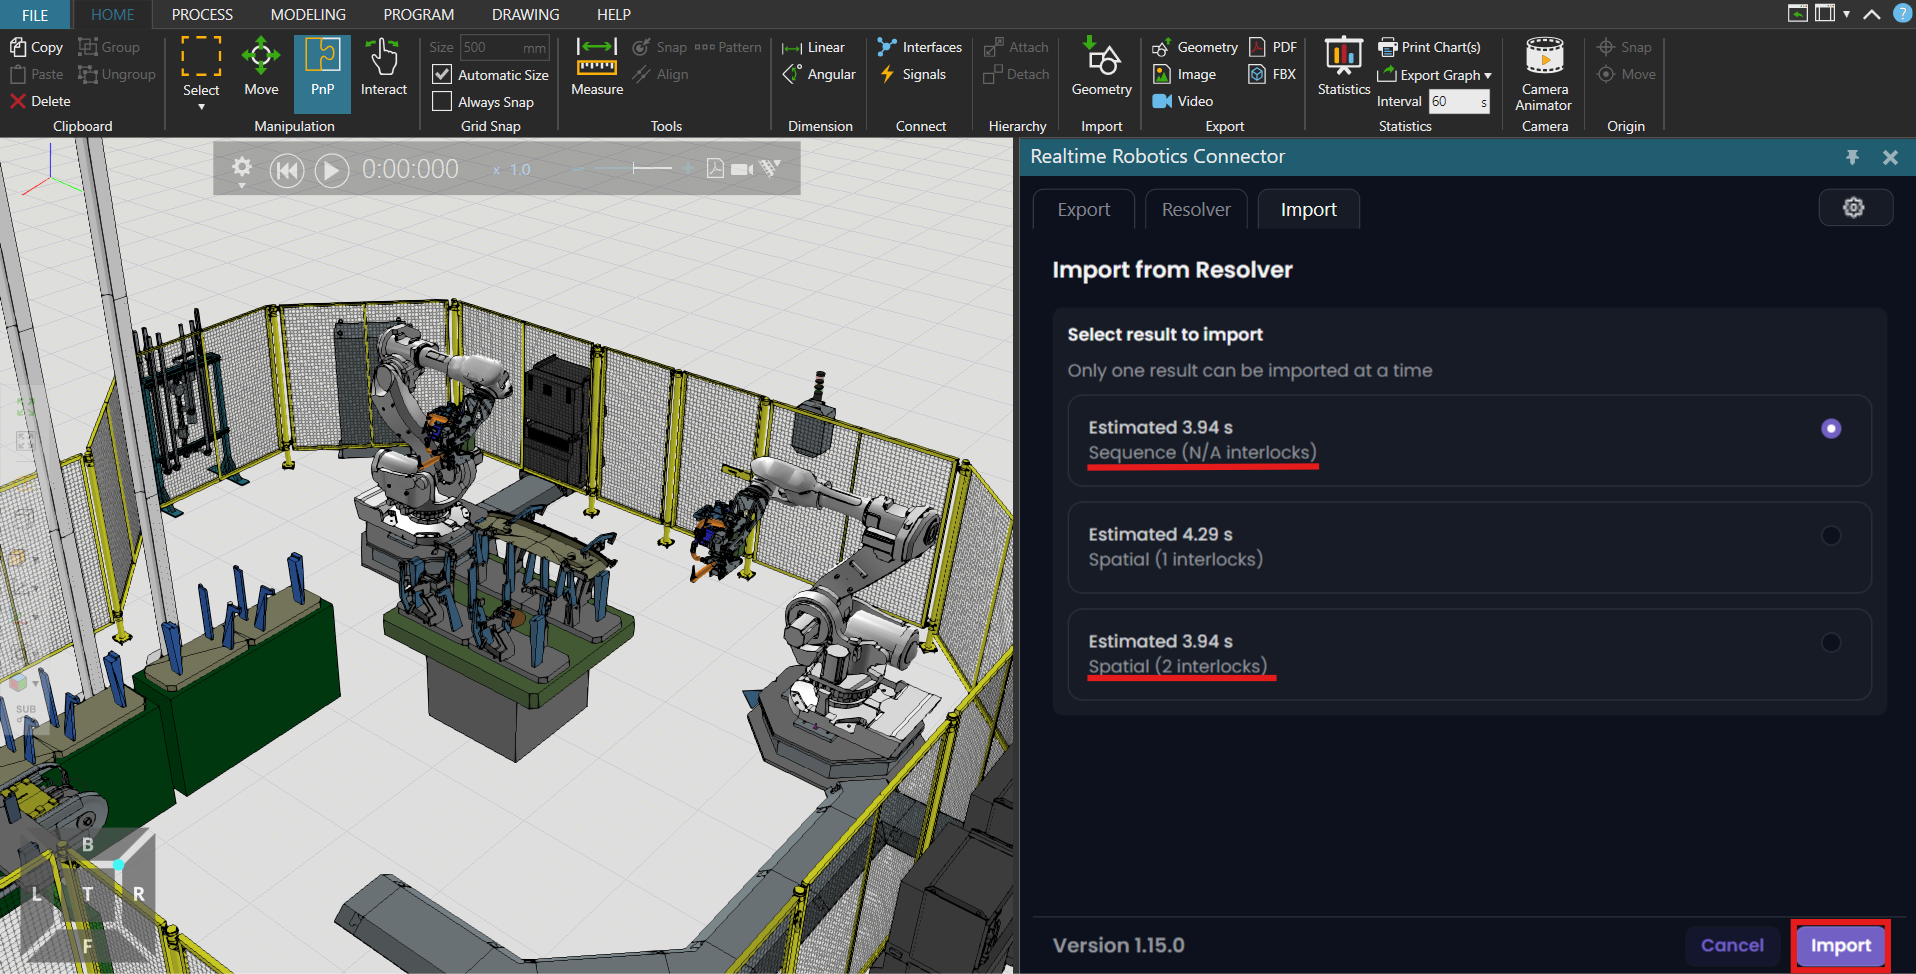
-
最適化されたシーケンスが、該当するすべてのロボットに自動的に追加されます。
エクスポートしたロボットシーケンスが 1 つだけの場合、そのロボットのみが最適化されたパスを受け取ります。
Offline Import
ローカルファイルからインポートできるようにするため、Settings で Automatically Connect to the Cloud が オフ になっていることを確認してください。
-
続行する前に、ダウンロードした結果フォルダーを 解凍 します。
-
インポートダイアログで、Resolver Cloud からダウンロードした
.yaml結果ファイルを 参照 します。 -
インポートする結果 — sequential または spatial reduced — を選択し、希望する Interlock 数を選択します。Interlock が多いほど Cycle Time は短くなります。
インポート後
インポートが完了すると、次のようになります。
- Visual Components Program Editor に、Resolver が生成した新しいパスシーケンスが表示されます。
- このインポートされたシーケンスを メインシーケンス に追加して統合します。
- Play を押して、Resolver が作成した最適化された衝突フリーのモーションパスを確認します。
最適化された結果が Visual Components Study に反映されました。