Exporting Study
Preparing for Export
Displayed Objects
Only visible (unhidden) objects and robots at the time of export are included in the .zip.
Tip: Hide any unnecessary entities to:
- Speed up export process
- Avoid unsupported object export errors
If a robot is visible but has no associated operation, a dummy operation is exported with two targets at the current pose. This helps Resolver correctly place the robot. Otherwise, the robot defaults to its zero joint position, which may cause planning issues.
What Gets Exported?
When a study is exported, a .zip file is generated for use with the Resolver engine. This archive contains several essential files and folders:
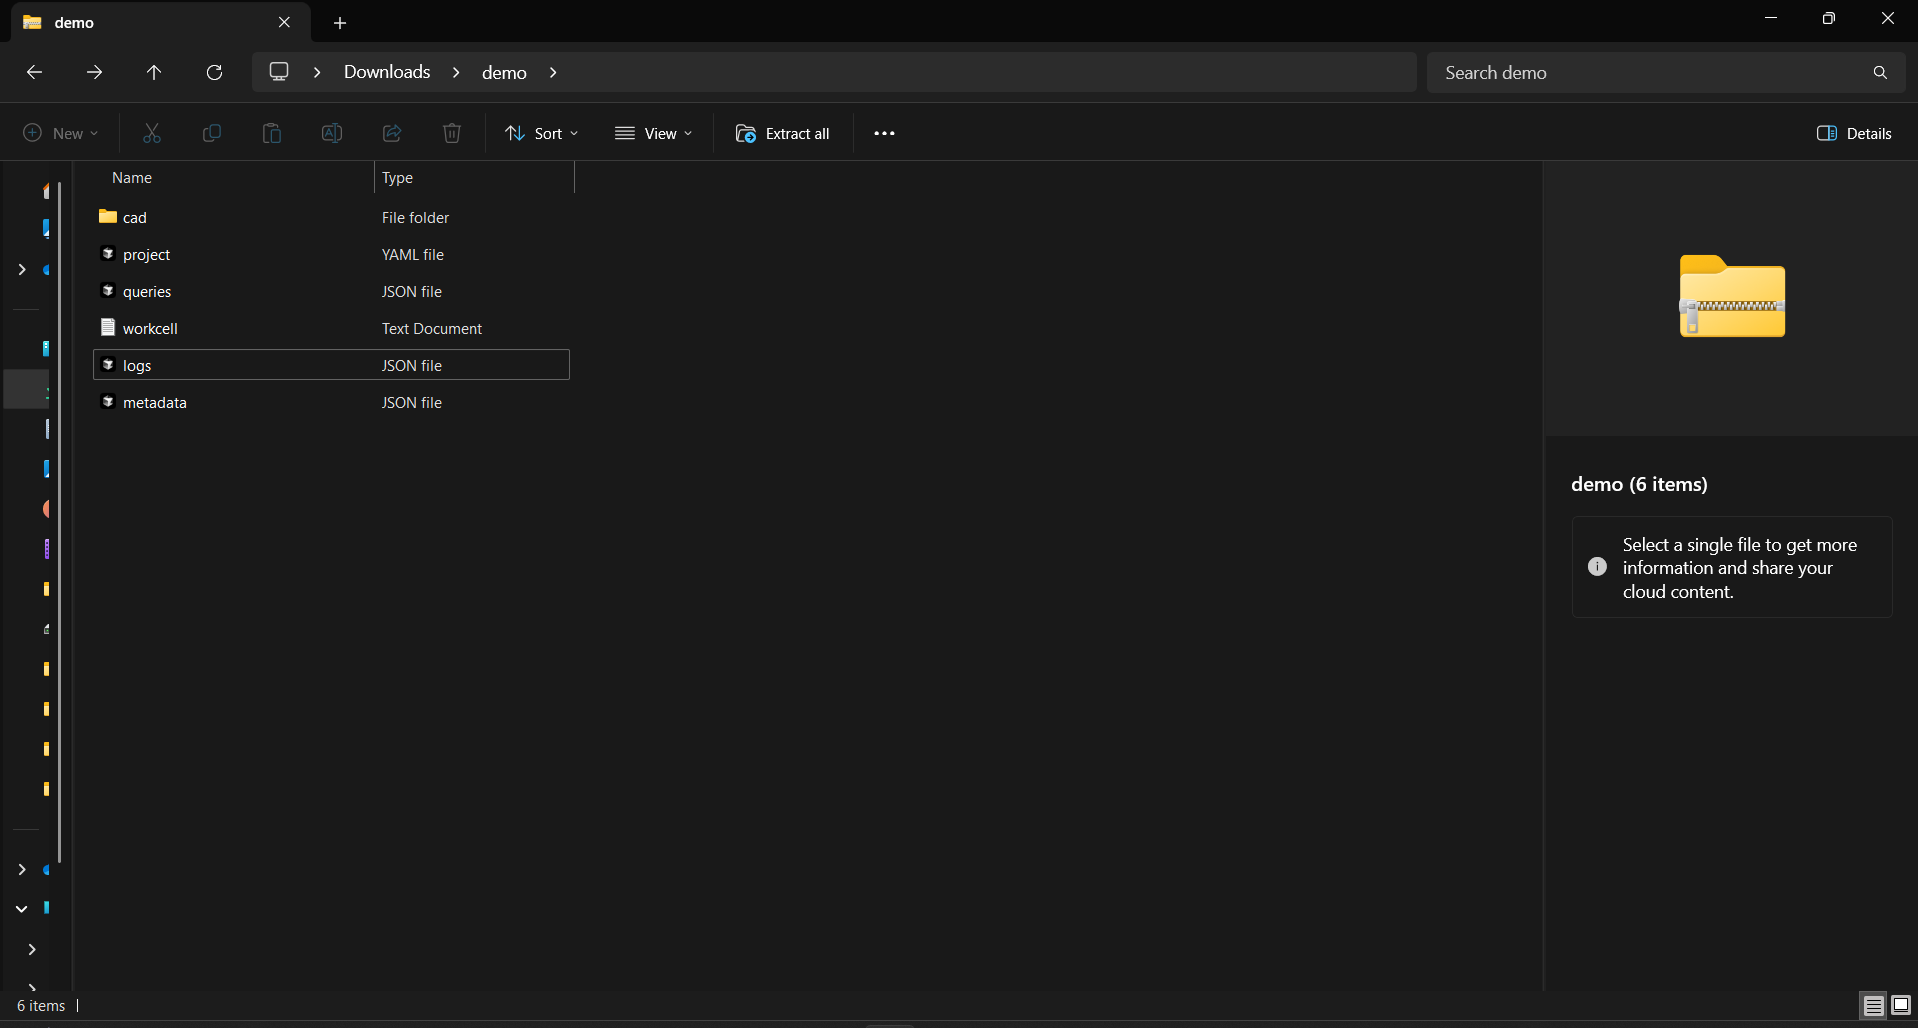
project.yaml
Defines how the engine should build the workcell. It has references to all items in the objects and robot_models folders. The engine looks at this file to define how objects are positioned and mated. The project.yaml specification will be published in the future.
queries.json
Contains the query generated by the exporter, defining operations, targets, and precedence constraints:
- Build Workflow (in Resolver Cloud): Provides a UI for editing.
- API (beta) Workflow: Displays as plain text, editable manually.
metadata.json
Stores performance and study data to improve the user experience in future versions.
workcell.txt
Describes the joint hierarchy of robots in the scene.
logs.json
Logs data about the study and export process.
cad
Contains .mf files of robot models, used alongside project.yaml to construct virtual robot models and environmental objects.
Supported Applications
- Spot Welding
- Arc Welding
- Riveting
- Inspection
Other applications may be supported upon request.
If you're unsure or your use case isn't listed, submit a support ticket to consult an RTR Application Engineer.
Exporting Sequences
The Connector exports one sequence (operation) per robot, and these are executed in parallel. When selecting a sequence for export, ensure that:
- Any sub-sequence calls or additional sequences are included within the main sequence to be exported.
- Only the required targets are included (e.g., process points or essential vias).
- You run ⏮️ Reset before exporting — all robots and objects must be in their starting positions.
- The target order is preserved in the results.
Step-by-Step: Exporting from Visual Components
-
In the Visual Components menu, navigate to Realtime Robotics Connector, then click:
Export → Subprograms to export
Select the sequence(s) for each robot to export.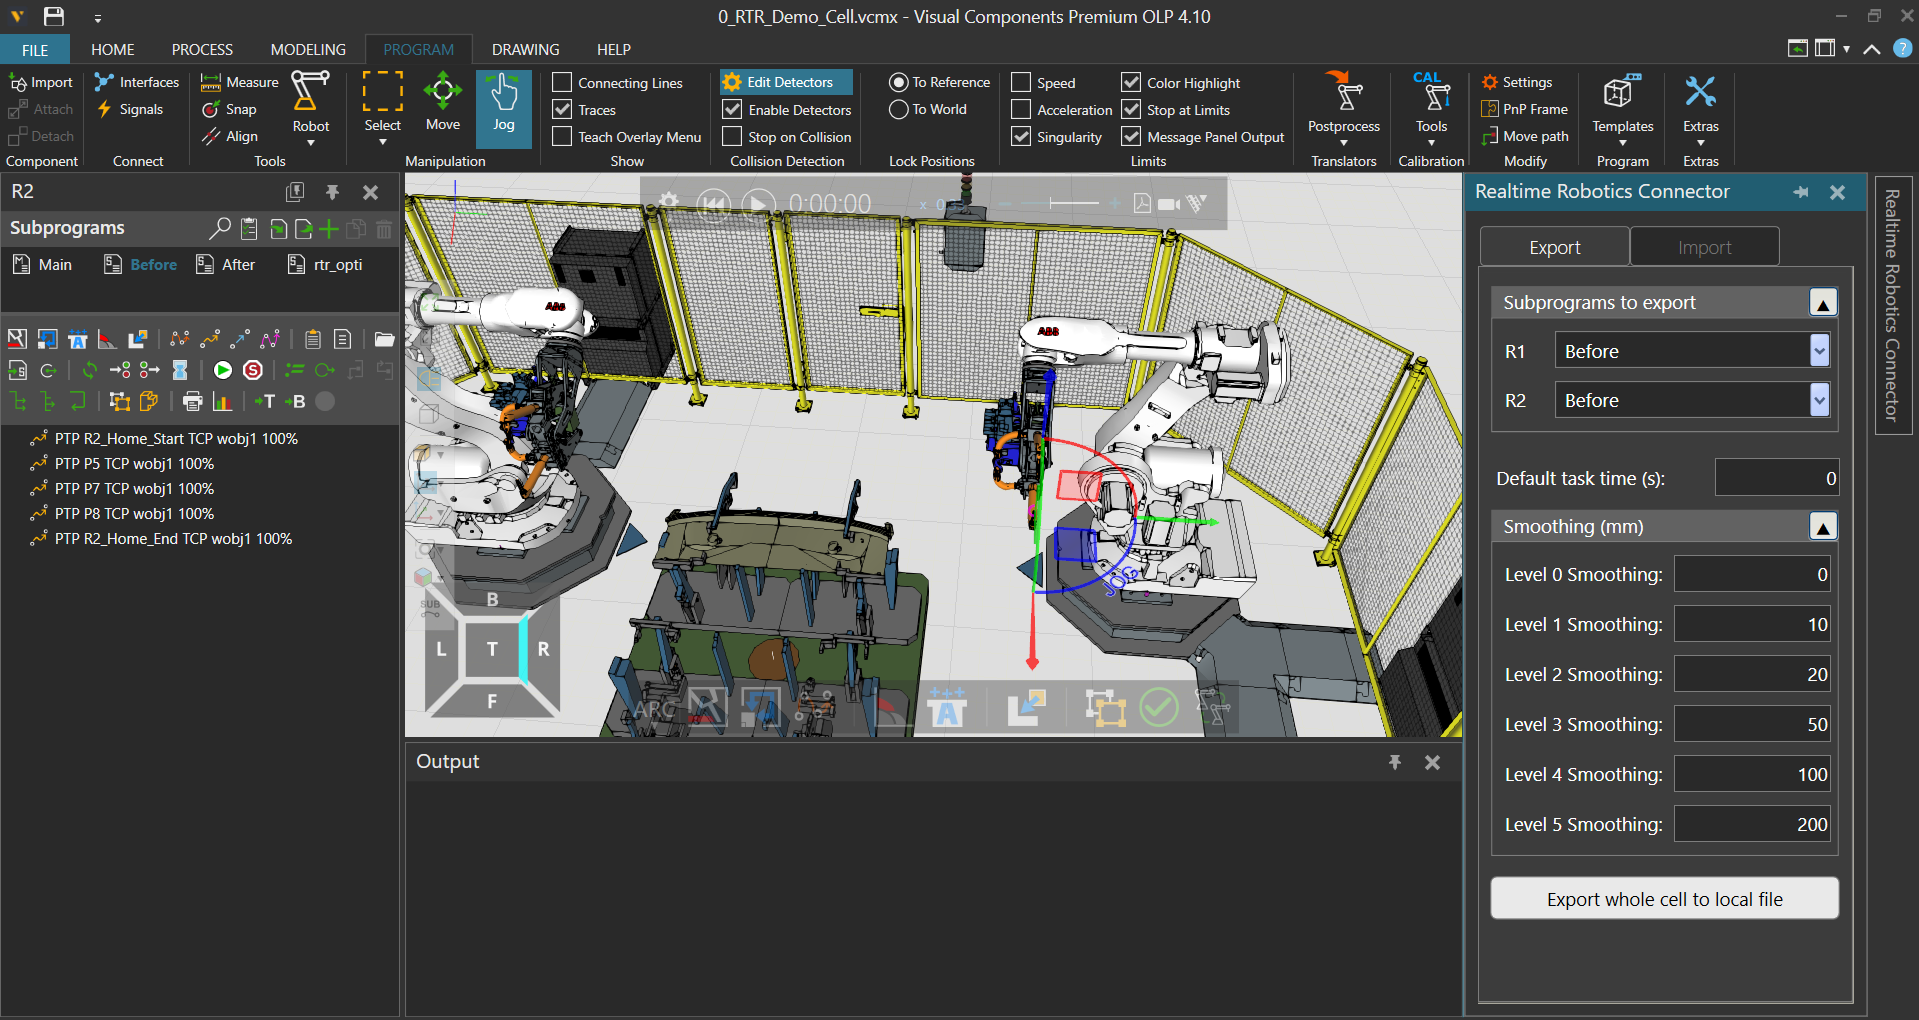
-
Click
Export whole cell to local file. In the export dialog:- Enter a Name for the export (used as the filename for the
.zip). - Click Browse to choose the destination folder.
- Enter a Name for the export (used as the filename for the
-
Click Save.
- Monitor the Output panel for completion. Export time varies with cell size.
- On success, you’ll see a message like:
Created Zip file :\Path\To\Your\File.zip
Once complete, upload the .zip file to Resolver Cloud to begin processing.